| 일 | 월 | 화 | 수 | 목 | 금 | 토 |
|---|---|---|---|---|---|---|
| 1 | 2 | 3 | 4 | 5 | 6 | 7 |
| 8 | 9 | 10 | 11 | 12 | 13 | 14 |
| 15 | 16 | 17 | 18 | 19 | 20 | 21 |
| 22 | 23 | 24 | 25 | 26 | 27 | 28 |
- 회고
- k8s
- 안드로이드
- 코루틴
- g 단위테스트
- 커스텀상태
- mockito
- 글또
- 알게되는
- android
- 알고리즘
- theming
- 스레드
- 코틀린
- 자바
- viewmodel
- 병럴프로그래밍
- 병렬프로그래밍
- Gradle
- 안드로이드스튜디오
- 안드로이드강좌
- ReactiveProgramming
- 책
- kotlin강좌
- Compose
- Kotlin
- Rxjava
- 테스트
- 디자인패턴
- Coroutine
- Today
- Total
선생님, 개발을 잘하고 싶어요.
Android Custom Dialog 만들기, Fullscreen Dialog 만들기, Transparent Dialog 만들기 본문
Android Custom Dialog 만들기, Fullscreen Dialog 만들기, Transparent Dialog 만들기
알고싶은 승민 2021. 1. 28. 22:00무엇을 원하는가?
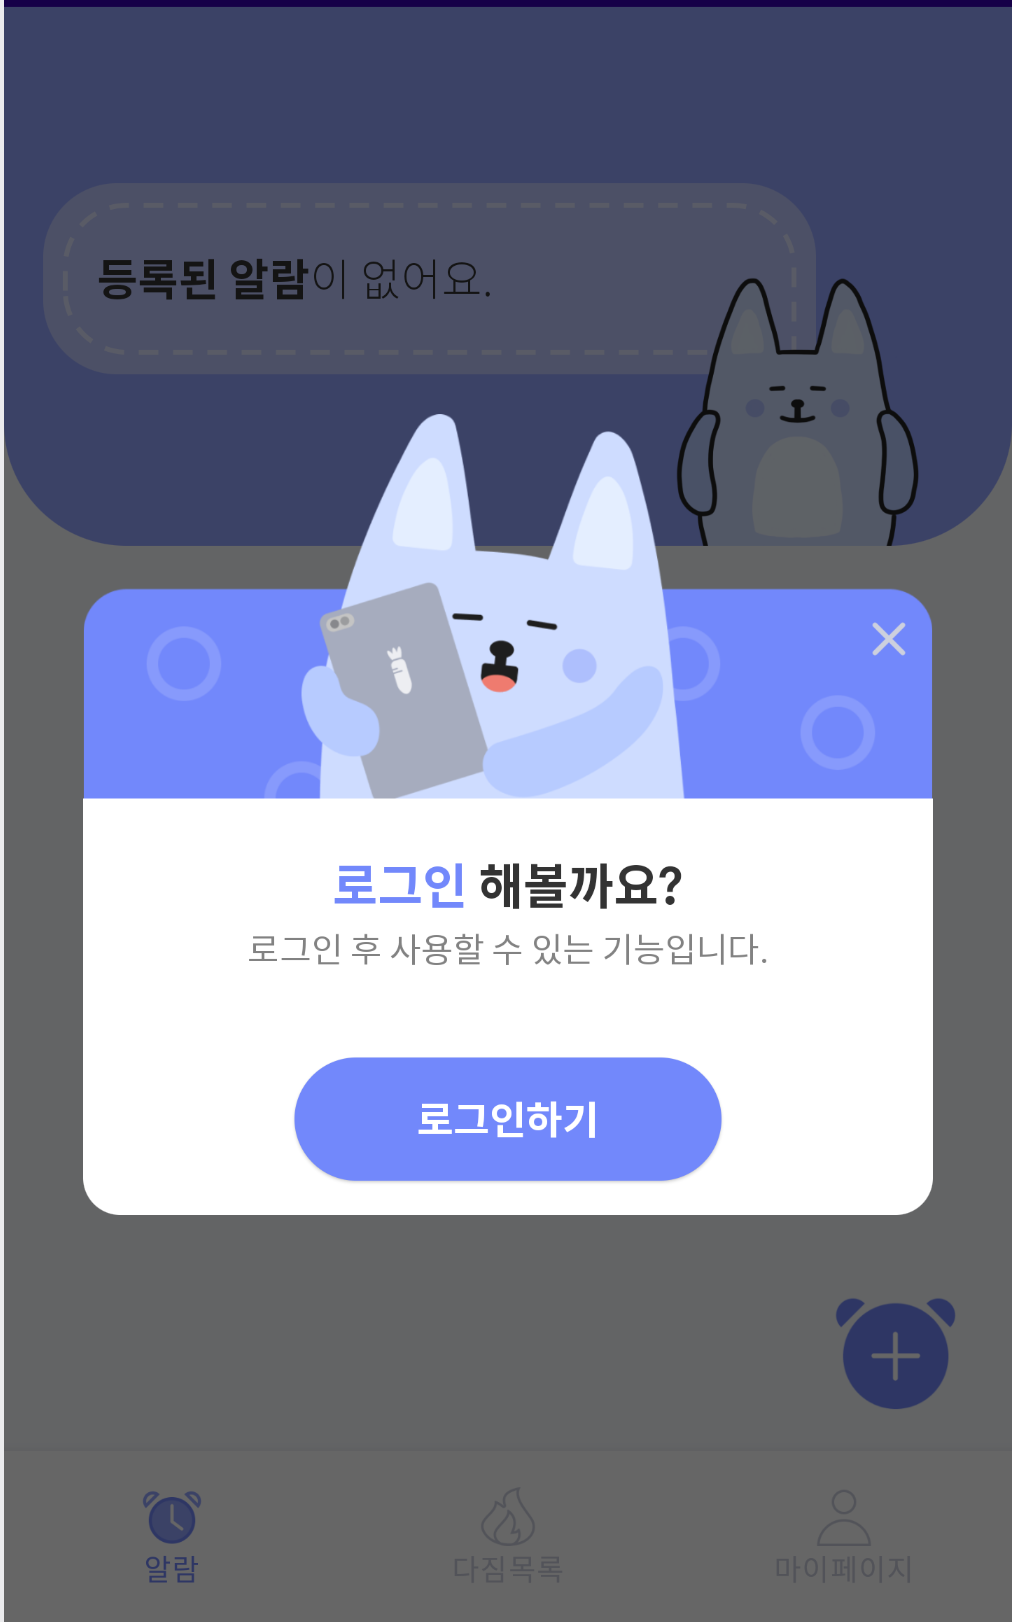
- 완전 커스텀한 뷰의 Dialog
- 전면을 다 차지하는 Dialog
단계별로 따라 하기
1. AlertDialog 사용하기
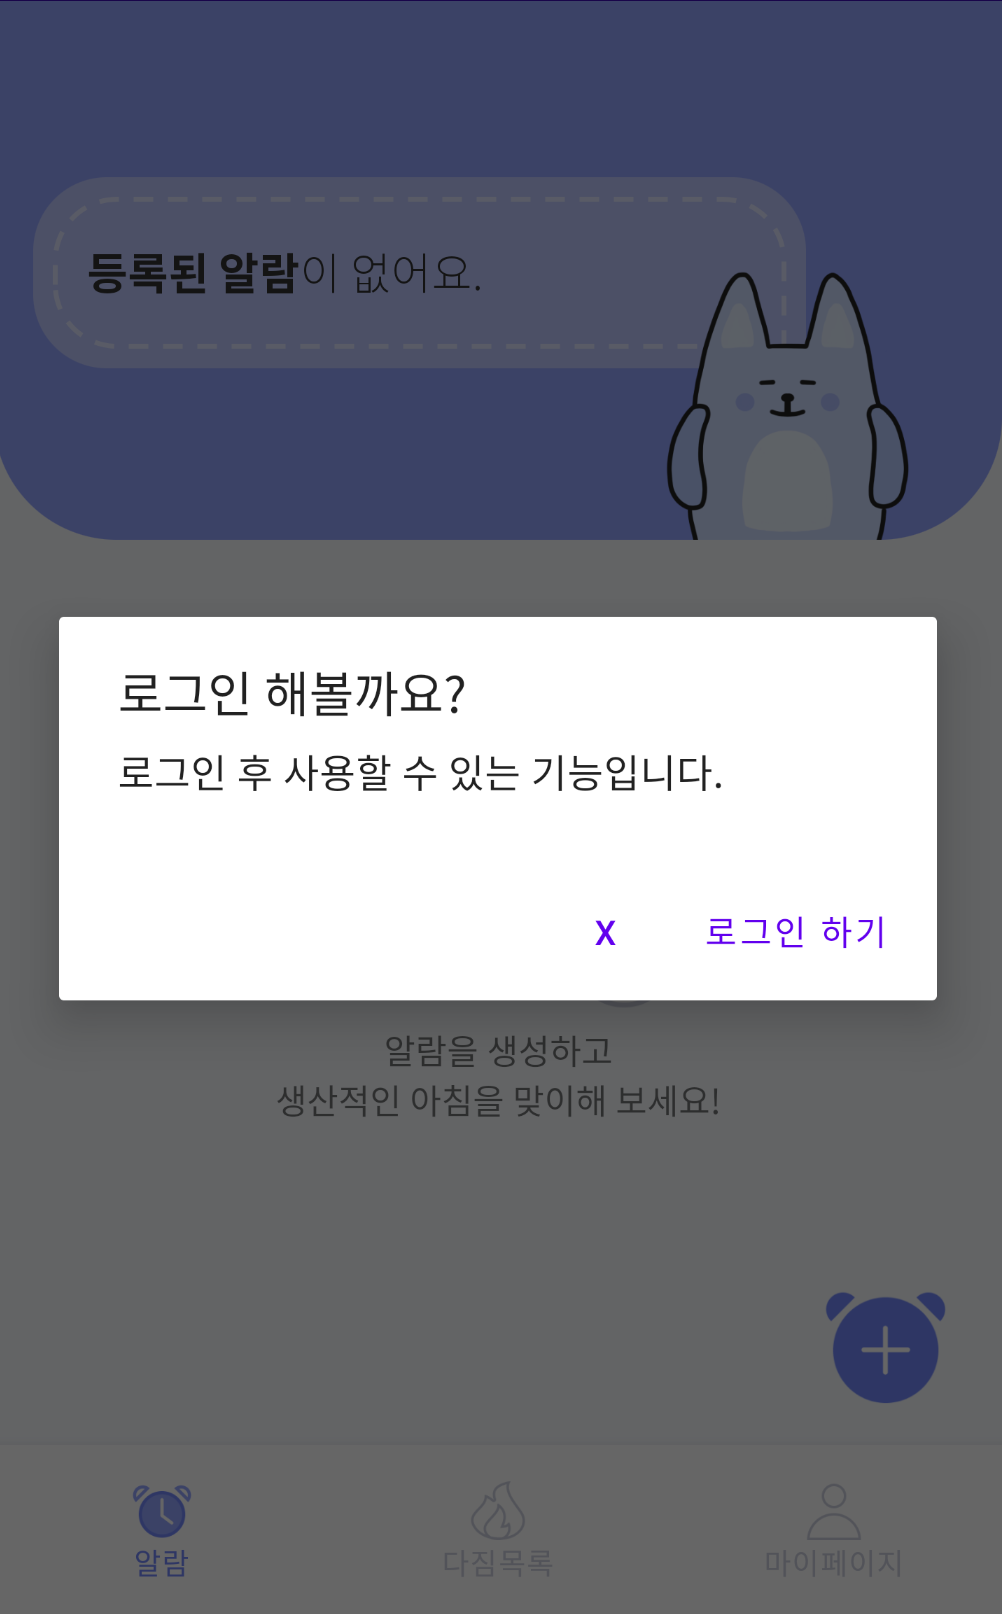
Dialog를 띄우는 가장 쉬운 방법은 AlertDialog.Builder가 제공하는 기능만 사용하는 것입니다.
setTitle, setMessage, setPositiveButton을 조합하면 위의 Dialog와 일치하는 정보를 제공할 수 있습니다.
개발 기간이 너무 촉박하다면 이 코드를 사용해보세요.
AlertDialog.Builder(context)
    .setTitle("로그인 해볼까요?")
    .setMessage("로그인 후 사용할 수 있는 기능입니다.")
    .setPositiveButton("로그인 하기", null)
    .setNegativeButton("x") { dialog, _ -> dialog.dismiss() }
    .show()
참고로, dialog.dismiss()를 호출하여 취소 버튼을 눌렀을 때, Dialog를 종료시키는 이벤트를 연결할 수 있습니다.
이 코드의 결과는 아래와 같습니다. 👇
2. CustomView 사용하기
너무 심심합니다. 커스텀 뷰를 사용해 봅시다. 다음과 같은 순서로 따라오시면 됩니다.
- 보여주고 싶은 커스텀 뷰 xml을 작성한다.
- LayoutInflater를 이용해서 xml을 로드한다.
- AlertDialog.Builder.setView를 사용해서 나만의 view를 지정한다.
alert_dialog.xml이라는 파일을 만들었다고 가정하겠습니다.
val layoutInflater = LayoutInflater.from(context)
val view = layoutInflater.inflate(R.layout.alert_dialog, null)

AlertDialog.Builder(context)
    .setView(view)
    .show()
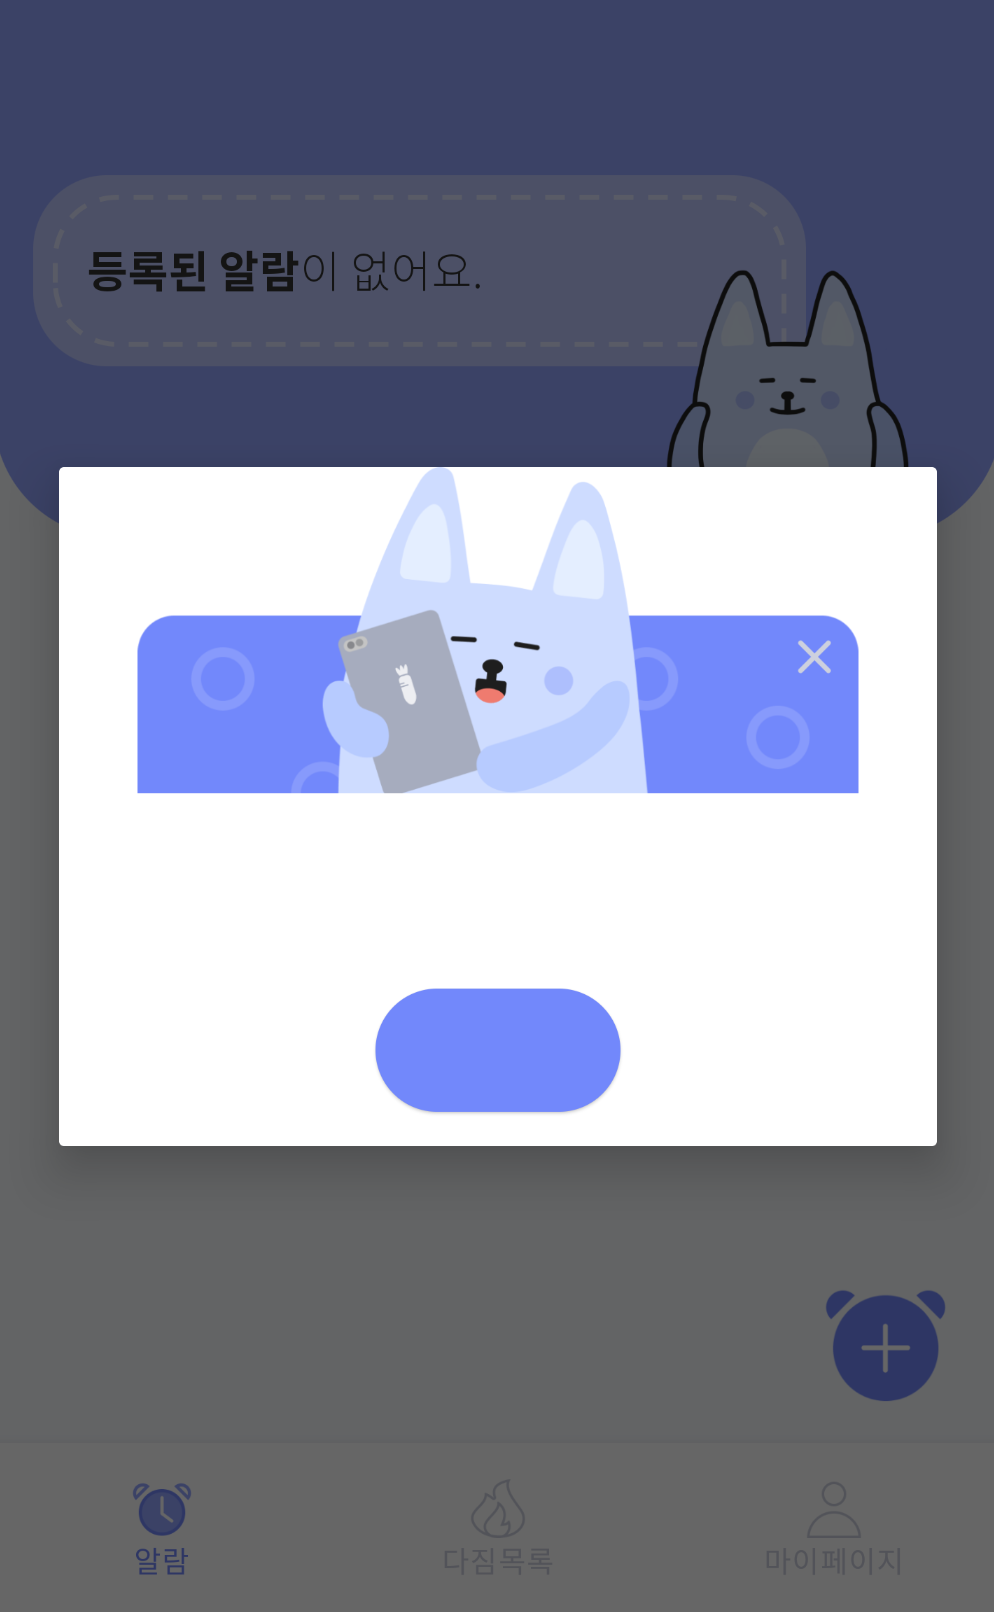
뒤에 배경이 이상한데 이건 조금 있다가 커스텀 Style 지정하기에서 다루도록 하고, 우선 custom view를 사용하실 땐, 아까 봤던 AlertDialog.Builder의 인터페이스는 사용할 수 없습니다. (setTitle, setMessage, setPositiveButton)
view객체에 직접 연결해 주도록 합니다.
val layoutInflater = LayoutInflater.from(context)
val view = layoutInflater.inflate(R.layout.alert_dialog, null)

val alertDialog = AlertDialog.Builder(context)
    .setView(view)
    .create()

val textTitle = view.findViewById<TextView>(R.id.text_title)
val textSubtitle =  view.findViewById<TextView>(R.id.text_subtitle)
val buttonConfirm =  view.findViewById<TextView>(R.id.button_confirm)
val buttonClose =  view.findViewById<View>(R.id.button_close)

textTitle.text = "로그인 해볼까요?"
textSubtitle.text = "로그인 후 사용할 수 있는 기능입니다."
buttonConfirm.text = "로그인 하기"
buttonClose.setOnClickListener {
    alertDialog.dismiss()
}

alertDialog.show()
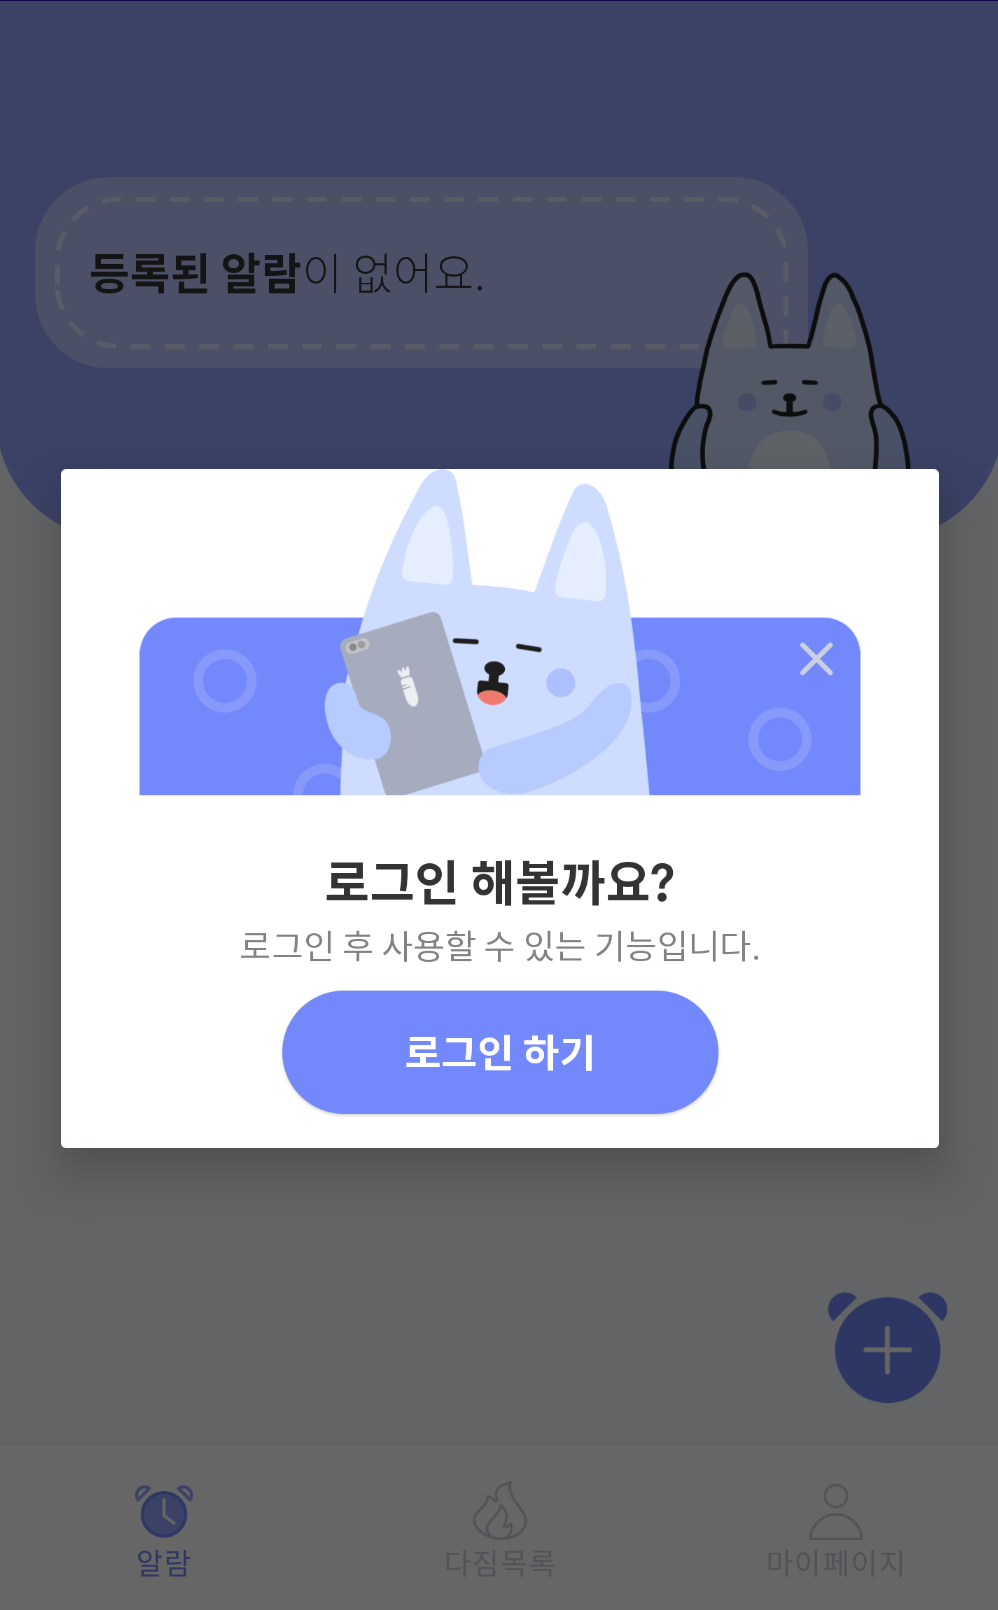
주의하실 것은 alertDialog의 참조를 얻기 위해서 create()를 사용해 Dialog 객체를 만드는 과정과 Dialog를 노출하는 show()를 분리했다는 것입니다.
(create 없이 show 하면 객체를 생성하고 바로 보여줍니다.)
취소 버튼을 누를 때 dialog객체의 dismiss를 호출해 주어야 하니 어쩔 수 없는 선택입니다.
3. 커스텀 Style 지정하기
뒤의 배경으로 나오는 것은 우리가 어떤 Theme을 적용하고 있느냐에 따라서 다를 겁니다. 시스템마다 AlertDialog를 보여주는 스타일이 다르게 구현되어 있을 수 있거든요.
우리는 다음과 같은 목적이 있다면 스타일을 건드려야 합니다.
- 전체 화면을 다 차지하고 싶다.
- Dim 처리를 하고 싶다. (백그라운드 회색)
- Dialog가 센터에 나오도록 처리하고 싶다.
<style name="CustomAlertDialog">
    <!-- 꽉 채운 화면에 배경 없이 (custom view 영역만 보일 것이다.) -->
    <item name="android:windowBackground">@android:color/transparent</item>
    <item name="android:windowMinWidthMajor">100%</item>
    <item name="android:windowMinWidthMinor">100%</item>

    <!-- Dim 처리 -->
    <item name="android:backgroundDimEnabled">true</item>
    <item name="android:colorBackground">?attr/colorBackgroundFloating</item>
    <item name="android:windowCloseOnTouchOutside">true</item>

    <!-- Dialog 가 센터에 나오도록 하자. -->
    <item name="android:windowIsFloating">true</item>
</style>
각 속성의 필요한 설명은 주석에 달았고 속성 이름으로 적절히 유추할 수 있을 겁니다.
그리고 마지막으로 적용해줍니다.
// Builder의 두번째 인자로 Dialog Style 지정하기
val alertDialog = AlertDialog.Builder(context, R.style.CustomAlertDialog)
    .setView(view)
    .create()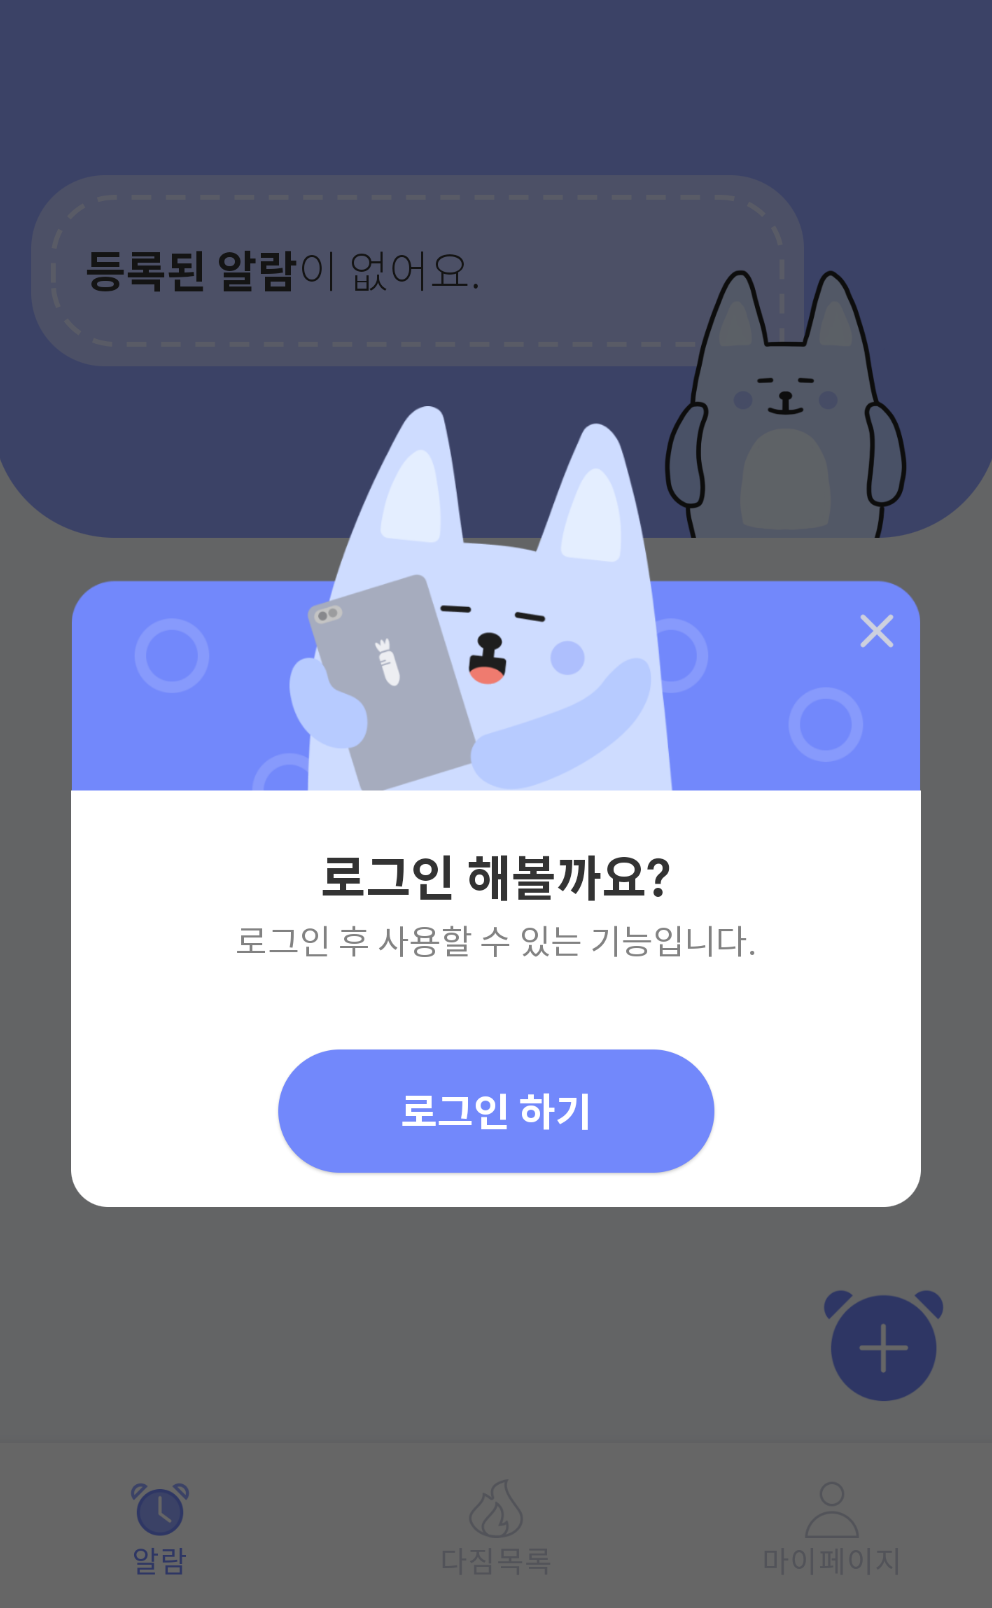
'개발 > android 개발' 카테고리의 다른 글
| [Deploy] Android App Bundle 을 (늦었지만) 알아보자. (0) | 2021.04.04 |
|---|---|
| 안드로이드 라이브 데이터 조합해서 사용하기, android livedata 조합하기, combine live data (1) | 2021.01.31 |
| [안드로이드] AlarmManager 기본 정의, 정리 (0) | 2020.12.30 |
| [페이징] android Paging2 + RxJava2로 페이징 구현하기 (2) | 2020.12.07 |
| 코루틴 정리하기 (0) | 2020.08.02 |
